

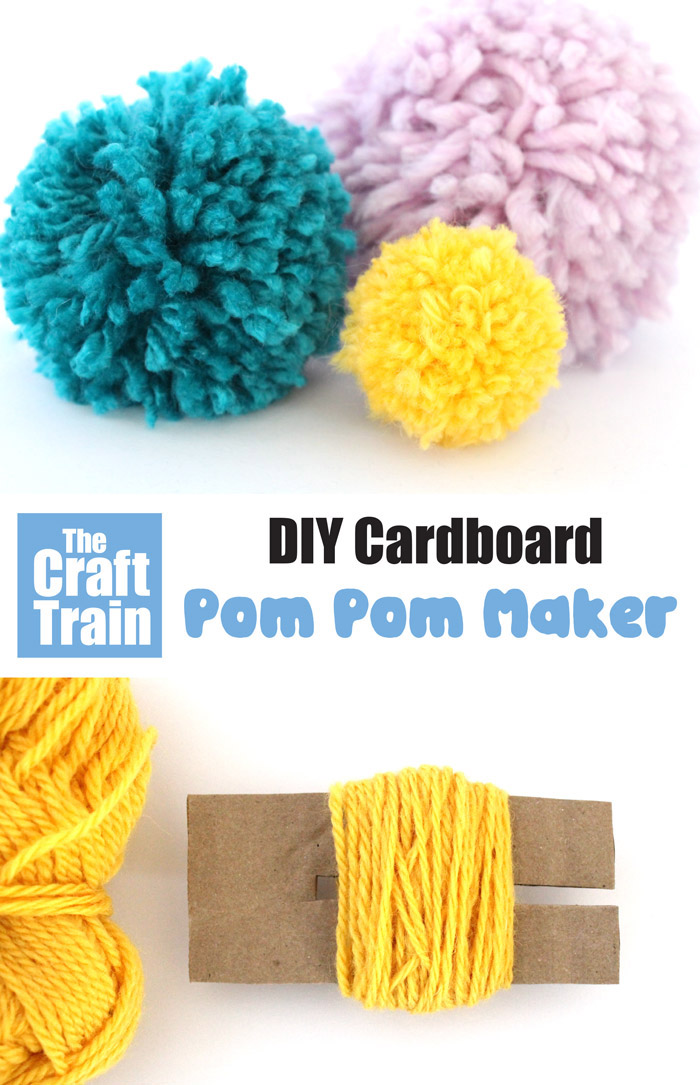
how to use a pom pom maker
Here is an easy DIY pom pom maker you can create from a scrap of cardboard.
This craft has been super popular since I first published it in 2016, and I've had lots of questions about measurements and requests for a template. I hear you, and now I've added one! I've also created a short video tutorial.
I really hate to admit this but as a craft blogger I struggled for a long time to make a decent pom pom. In the olden days when I was a child we used cardboard discs shaped like a donut and you would spend a very, very long time carefully wrapping yarn around and through the hole in the centre until it was plump and ready to trim.
In this day and age we're all a bit less patient and that technique seems very cumbersome and tedious (I'm sure I don't just speak for myself here).
After a some experimenting I've come up with a much quicker and easier way of creating big, fluffy pom poms. I already own several plastic pom pom makers purchased inexpensively from the craft store and although I've given it a good shot I haven't been able to figure them out. Quite possibly I'm a big dunce when it comes to following instructions but this way has been FAR quicker and easier for me. Let me show you how it works.
How to make a DIY cardboard Pom Pom maker
You will Need:
- Scrap cardboard – the thicker and stronger the better
- Yarn – I've found the very thick, chunky yarn works great for the large sized pom poms and the finer yarn works best for the small size but there are no real rules here
- Scissors – sharp scissors are a must for cutting and trimming
- pom pom maker template to get the small, medium and large pom pom makers (optional – you can see from the photographs that I have roughly cut the pom pom makers free hand, but in the video I've used the template)
How To:
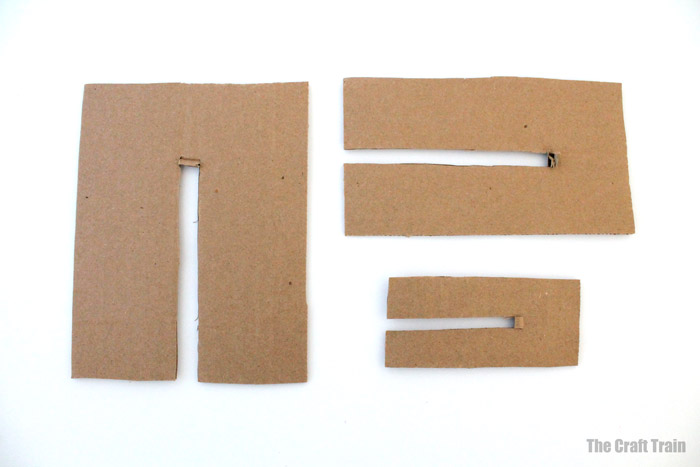
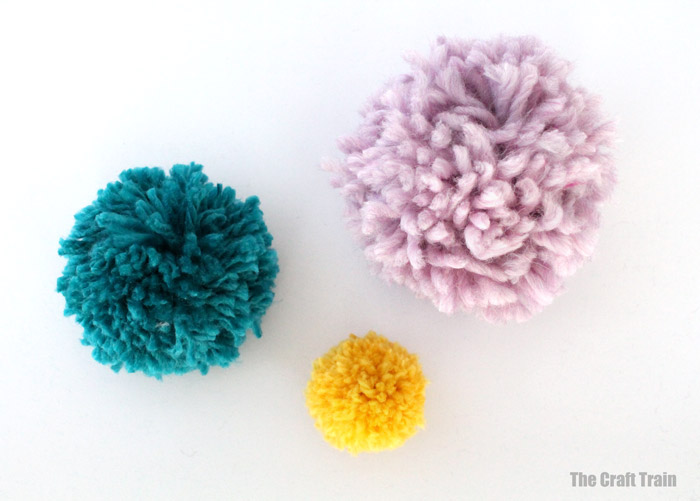
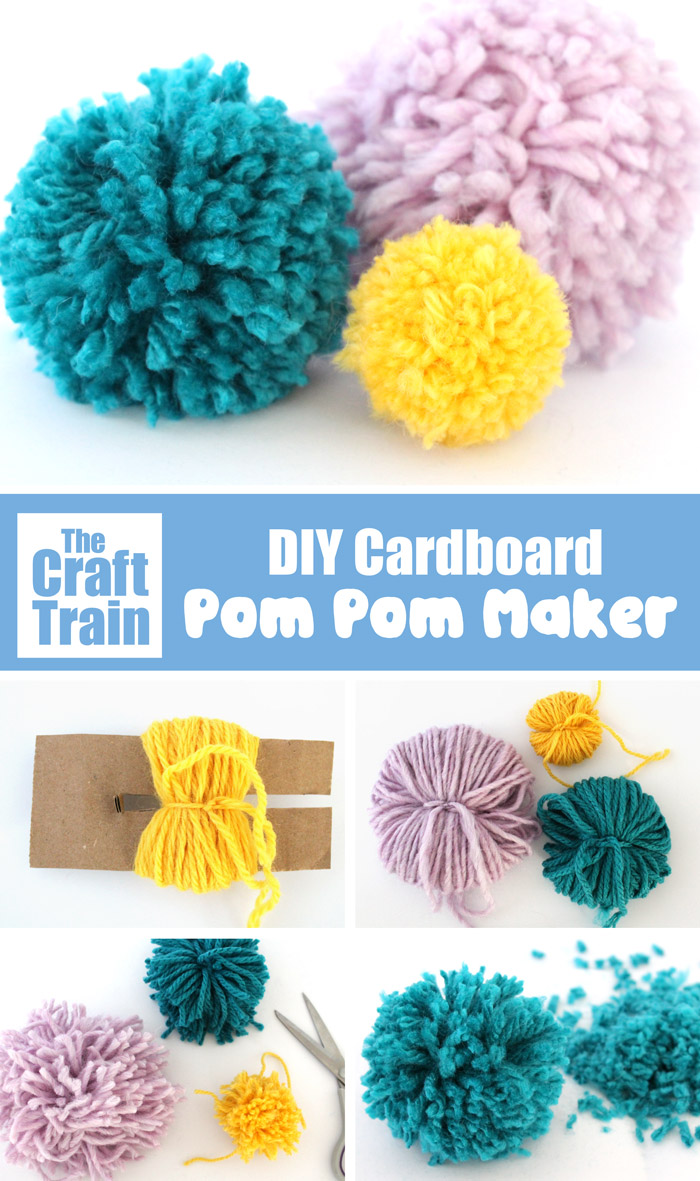
Cut out a shape that resembles a rectangle with a slit running down the middle but not all the way, like in the image below. You can see I've made three different sizes.
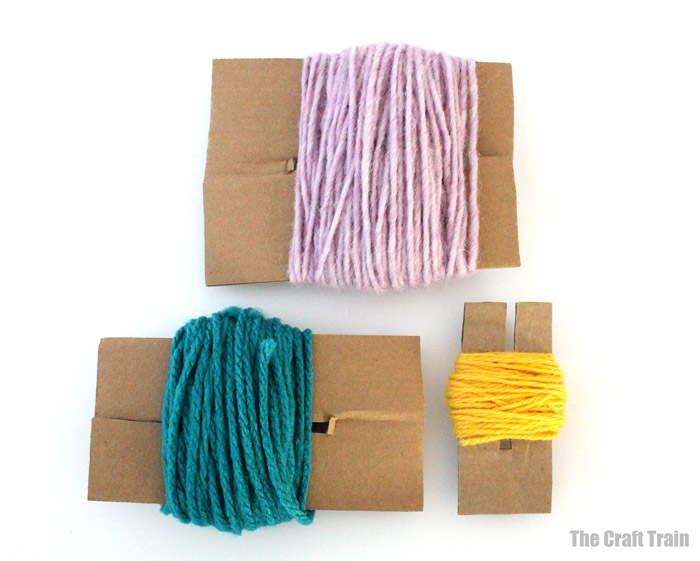
Wrap these in yarn. The yellow yarn in the image directly below is 8 ply, the other two are thicker.
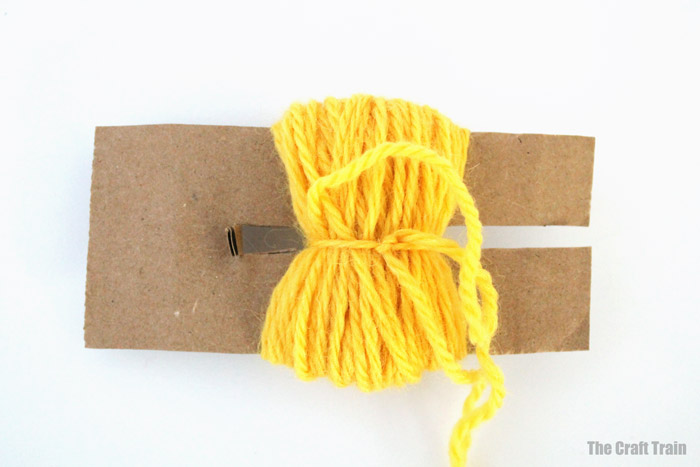
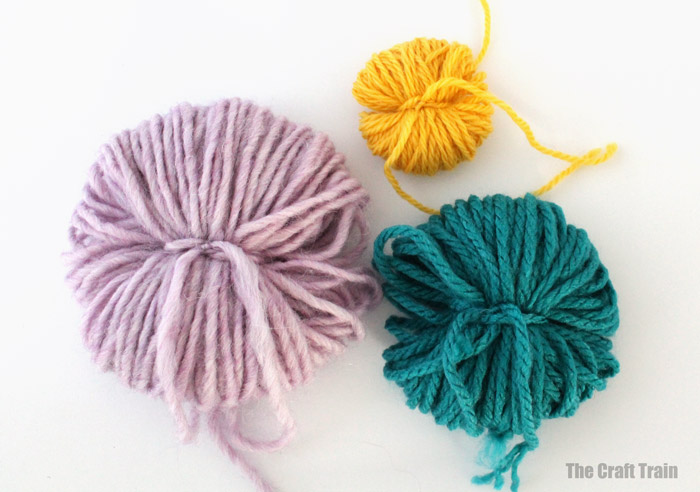
While the yarn is wrapped around your cardboard pom pom maker tie it tightly in the middle.
Slide it off the end, turn it over and tie even tighter on the opposite side.
Use your sharp scissors to cut the looped ends. It will come out looking very shaggy and a bit uneven.
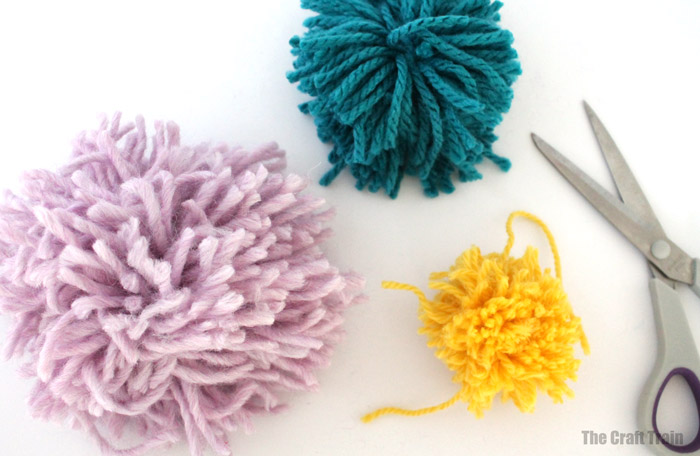
Now it just needs a good trim which is the big secret of making a fluffy, round pom pom.
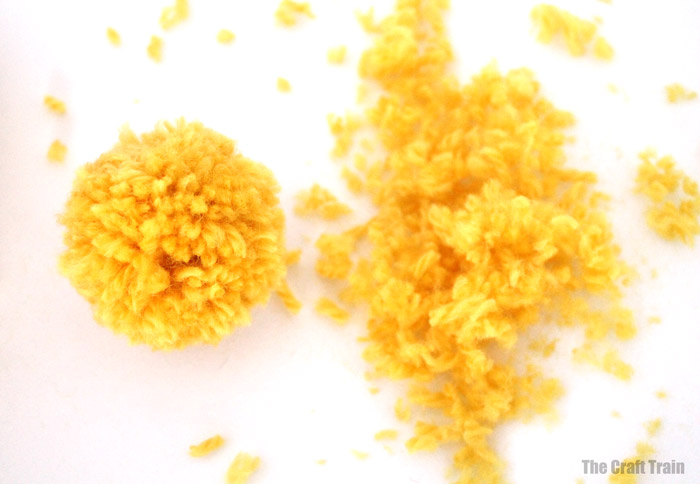
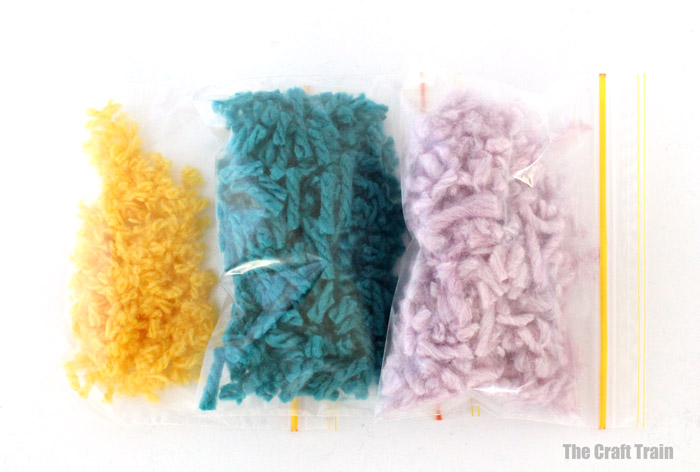
Instead of throwing out your pom pom trimmings store them in a plastic baggie and keep for future craft projects. They can be used in art collages or anything else you can imagine up, like these fluffy yarn pet rocks.
The best thing about this technique is that is SO quick you can churn pom poms out in no time at all – no more cumbersome round disc. My kids struggle with the part where a knot needs to be tied very tightly (that is the trickiest thing about this craft), so when they make pom poms they need help in that area but that is all, it really is very, very easy!
You can use our DIY pom pom maker to make a pom pom hedgehog or a pom pom panda
Prep Time 5 minutes
Active Time 10 minutes 5 seconds
Total Time 15 minutes 5 seconds
Difficulty easy
Materials
- scrap cardboard
- yarn
- printable template
Instructions
- Cut out the template size for the pom pom you wish to use, trace the shape onto cardboard and cut it out. The template is delivered to you via email for free when you enter your details in the space provided.
- Wrap yarn around the side of the template that has a gap in the middle until you have a plump lump of it
- While the yarn is wrapped around your pom pom maker tie it tightly in the middle
- Slide it off the end, turn it over and tie it tightly on the opposite side
- Cut the looped ends of the yarn using sharp scissors
- You now have an untidy looking pom pom, hold it over a piece of paper and trim the shaggy parts so it is nice and round-looking. The paper catches the trimmings for an easier clean up
More fun crafts to make from yarn:
-
- Make a gorgeous set of braided yarn dolls – so fun and easy!
- These pretty yarn butterflies are made with a simple weaving technique
- Kids will love re-visiting the classic God's Eye weaving project
- Have you ever tried finger knitting? It's so fun and easy!
- Here are over 15 cool yarn crafts kids will love
how to use a pom pom maker
Source: https://www.thecrafttrain.com/diy-cardboard-pom-pom-maker/
Posted by: martinezishaves.blogspot.com
0 Response to "how to use a pom pom maker"
Post a Comment